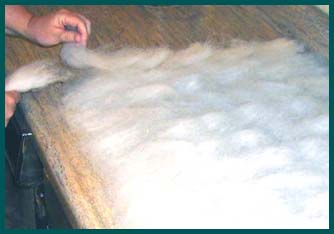
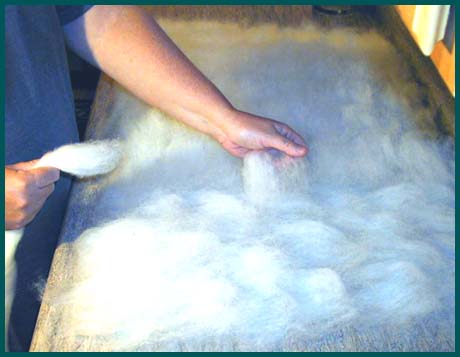
I like to work on my kitchen counter, so am limited in the size of felt I can make. If you want to work larger, then you must use a larger table, rubber tray (the kind used as an automobile oil drip pan) or whatever surface you prefer.You can use wool roving or batts or any form of washed and carded wool. Begin by pulling off thin handfuls of the wool and laying them out with all of the wool going in the same direction. |
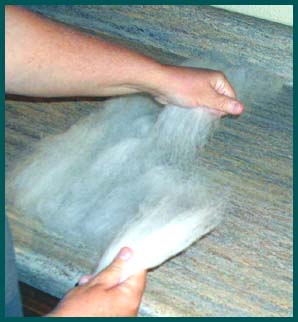
The finished first layer will look something like this. I have laid this wool out to measure 23" X 38", but you can make whatever size you like. |
The second layer of wool is always laid out in the opposite direction, crosswise to the first layer. |
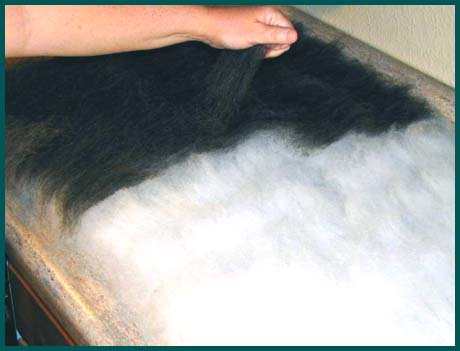
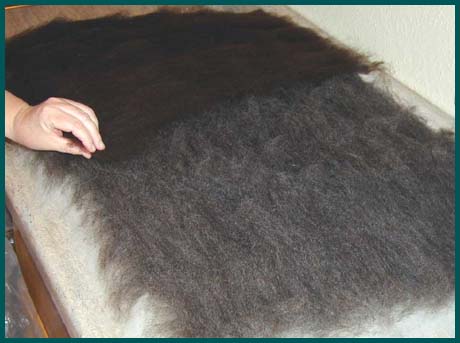
The third and fourth layers are of grey wool. Again, the third layer is placed in the opposite direction to the second layer, and the fourth is opposite to the third layer. |
The fifth and final layer ends up going in the same direction as the first white layer that was laid down. I have used dark brown or black wool for this final layer. This means that the finished piece of felt will be white on one side and black on the other.You can of course use any colours you like. I have noticed this: if you use dyed wools for the first layer, then white wools for the second layer, the final felt effect will be more pastel and appear to be more translucent. If you use dyed wools for the first layer, then use black wools for the second layer, the colours will appear to be darker in the finished piece of felt. You need not use your dyed wools for all layers of the felt, especially if only one side of the felt will be seen. |
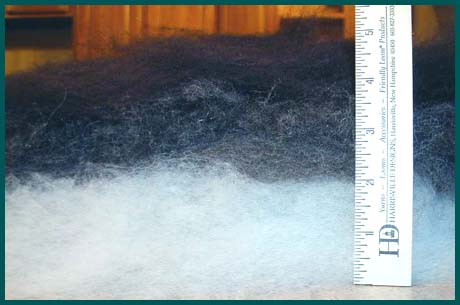
You will notice that these layers of wool end op being rather fluffy and thick. I have used five layers and this ends up being about five inches thick.To make a thinner piece of felt only use three layers. To make a much thicker piece of felt, perhaps to be used as a saddle pad, use at least eight to ten layers. |
[an error occurred while processing this directive]